If you have been thinking about converting your wood-burning fireplace to gas, you are probably wondering what the actual process looks like. Fireplace conversion is one of the most common projects our team handles across the Bay Area, and homeowners are often surprised by how structured and manageable the work is when done correctly. This walkthrough covers every meaningful stage so you can go into the project with clear expectations.
What Fireplace Conversion Actually Involves
A fireplace conversion replaces your wood-burning setup with a gas insert or gas log system that uses your existing firebox and, in most cases, your existing flue. The goal is to give you reliable, controllable heat and ambiance without the labor of stacking wood, managing a fire, or cleaning out ash after every burn.
There are two main paths most homeowners take:
- Gas insert: A self-contained unit that slides into your existing firebox, seals against the opening, and vents through a stainless steel liner running up your chimney.
- Gas log set: Ceramic logs placed on a burner inside the firebox, typically used in decorative applications with a less demanding heat output requirement.
The right choice depends on how you use the fireplace, your home’s layout, and what the existing structure can support. That is exactly why a professional assessment comes first.
Step 1: The Initial Assessment
Before anything is ordered or installed, a technician needs to evaluate your current fireplace and chimney. This step is not optional, and any reputable contractor will insist on it. Here is what that assessment covers:
- The dimensions of the firebox opening and depth, to confirm which insert models will fit
- The condition of the flue liner, since a gas insert requires a properly sized and intact liner
- The location of your gas supply line and whether it reaches the firebox area
- Existing damper condition, since gas appliances typically need a damper that stays open or is converted to a fixed position
- Local permit requirements specific to your city or county
Our team has completed thousands of these assessments across Oakland, San Francisco, San Rafael, Santa Rosa, and the wider Bay Area. In older homes especially, we sometimes find that the firebox needs minor repair before a new appliance can be seated correctly. Catching that in the assessment saves significant time later.
Step 2: Permits and Gas Line Preparation
In California, connecting a gas appliance almost always requires a permit, and the gas line work must be done by a licensed plumber or contractor authorized for gas work. Some installers coordinate this directly; others expect the homeowner to arrange it separately. Make sure you clarify this before signing any contract.
If a gas line does not already run to the fireplace area, a plumber will need to extend one from your main supply. This involves running a properly sized pipe, installing a shutoff valve at the appliance location, and pressure-testing the line before the fireplace technician connects the appliance. The permit process also typically requires a city or county inspection of the gas line before the firebox is closed up.
Skipping permits is never worth it. Unpermitted gas work creates real safety risks and can complicate home sales, insurance claims, and future repairs.
Step 3: Flue Liner Installation
This is the stage that surprises many homeowners. Gas appliances burn cleaner than wood, but they still produce combustion byproducts that need to exhaust safely. A gas insert requires a flexible stainless steel liner to be installed inside your existing masonry flue. Here is why that matters:
Your old wood-burning flue is almost certainly too large for a gas appliance. Gas appliances are rated for specific venting sizes, and an oversized flue causes the exhaust to cool too quickly, which leads to condensation and eventually liner damage. The flex liner, which is sized precisely to the appliance output, solves that problem by creating the right draft at the right temperature.
The liner is lowered from the top of the chimney and connected to the insert at the firebox end. A new cap is fitted at the top to protect the liner termination. This is also a good moment to address any existing chimney cap issues, since the old cap will be replaced as part of the liner installation anyway. You can read more about how we handle that part of the work on our chimney cap installation page.
How Fireplace Conversion Proceeds on Installation Day
Once permits are in place, the gas line is ready, and the liner is down, the insert installation itself is a well-organized sequence that typically takes a skilled team a few hours. Here is the general order of operations:
- Prepare the firebox: The technician cleans out any debris and checks that the liner connection point is correctly positioned at the base of the flue.
- Fit the surround and facing: The decorative surround that covers the gap between the insert and your existing fireplace opening is dry-fit before the unit goes in, to confirm measurements.
- Slide the insert into position: Gas inserts are heavy, and positioning matters precisely. The unit needs to align with both the gas connection and the liner collar.
- Connect the gas supply: The flexible gas connector is attached to the appliance and to the shutoff valve. This connection is checked immediately with a leak-detection solution.
- Connect and seal the liner: The liner collar at the top of the insert is sealed to prevent any exhaust from entering the room.
- Test the appliance: The technician fires the unit, checks the flame pattern, confirms the pilot system is operating correctly, and verifies that exhaust is drafting properly up the liner.
- Install the facing: Once everything passes the operational check, the decorative surround goes on and is secured.
Before the team leaves, you should receive a walkthrough of the controls, the pilot lighting procedure, and what normal operation looks like. If you are getting a remote control or wall thermostat, those will be paired and tested before the job is considered done.
What to Expect After the Conversion Is Complete
The first few fires in a new gas insert can produce a mild smell as manufacturing coatings on the interior surfaces burn off. This is normal and typically clears within one or two uses. Run the appliance on a low setting with windows slightly open during those first sessions.
After that, a converted fireplace is significantly easier to maintain than a wood burner. You will not have creosote buildup from wood combustion, and you will not need to deal with ash. That said, gas appliances still need annual professional inspection. The burner, pilot assembly, gas valve, and venting all warrant a look each year to confirm everything is functioning safely. Our chimney inspection service covers the venting side of that annual check, and our fireplace repair team handles any appliance-side issues that surface.
Bay Area winters are milder than most, but homes in Napa, Petaluma, Danville, and the East Bay hills still see enough cold to make a reliable, efficient fireplace genuinely worthwhile. A gas insert delivers consistent heat with far less effort, which is why conversion requests have been a steady part of our work across the region for years.
Common Questions Before Committing to a Conversion
Can I convert if my chimney has existing damage?
It depends on the nature of the damage. Minor crown cracks or mortar deterioration can usually be repaired as part of the project. A compromised flue liner is actually resolved by the liner installation that comes with a gas insert. Structural masonry damage, on the other hand, needs to be addressed first. The assessment stage will make this clear before you commit to anything.
Will I lose the look of a real fire?
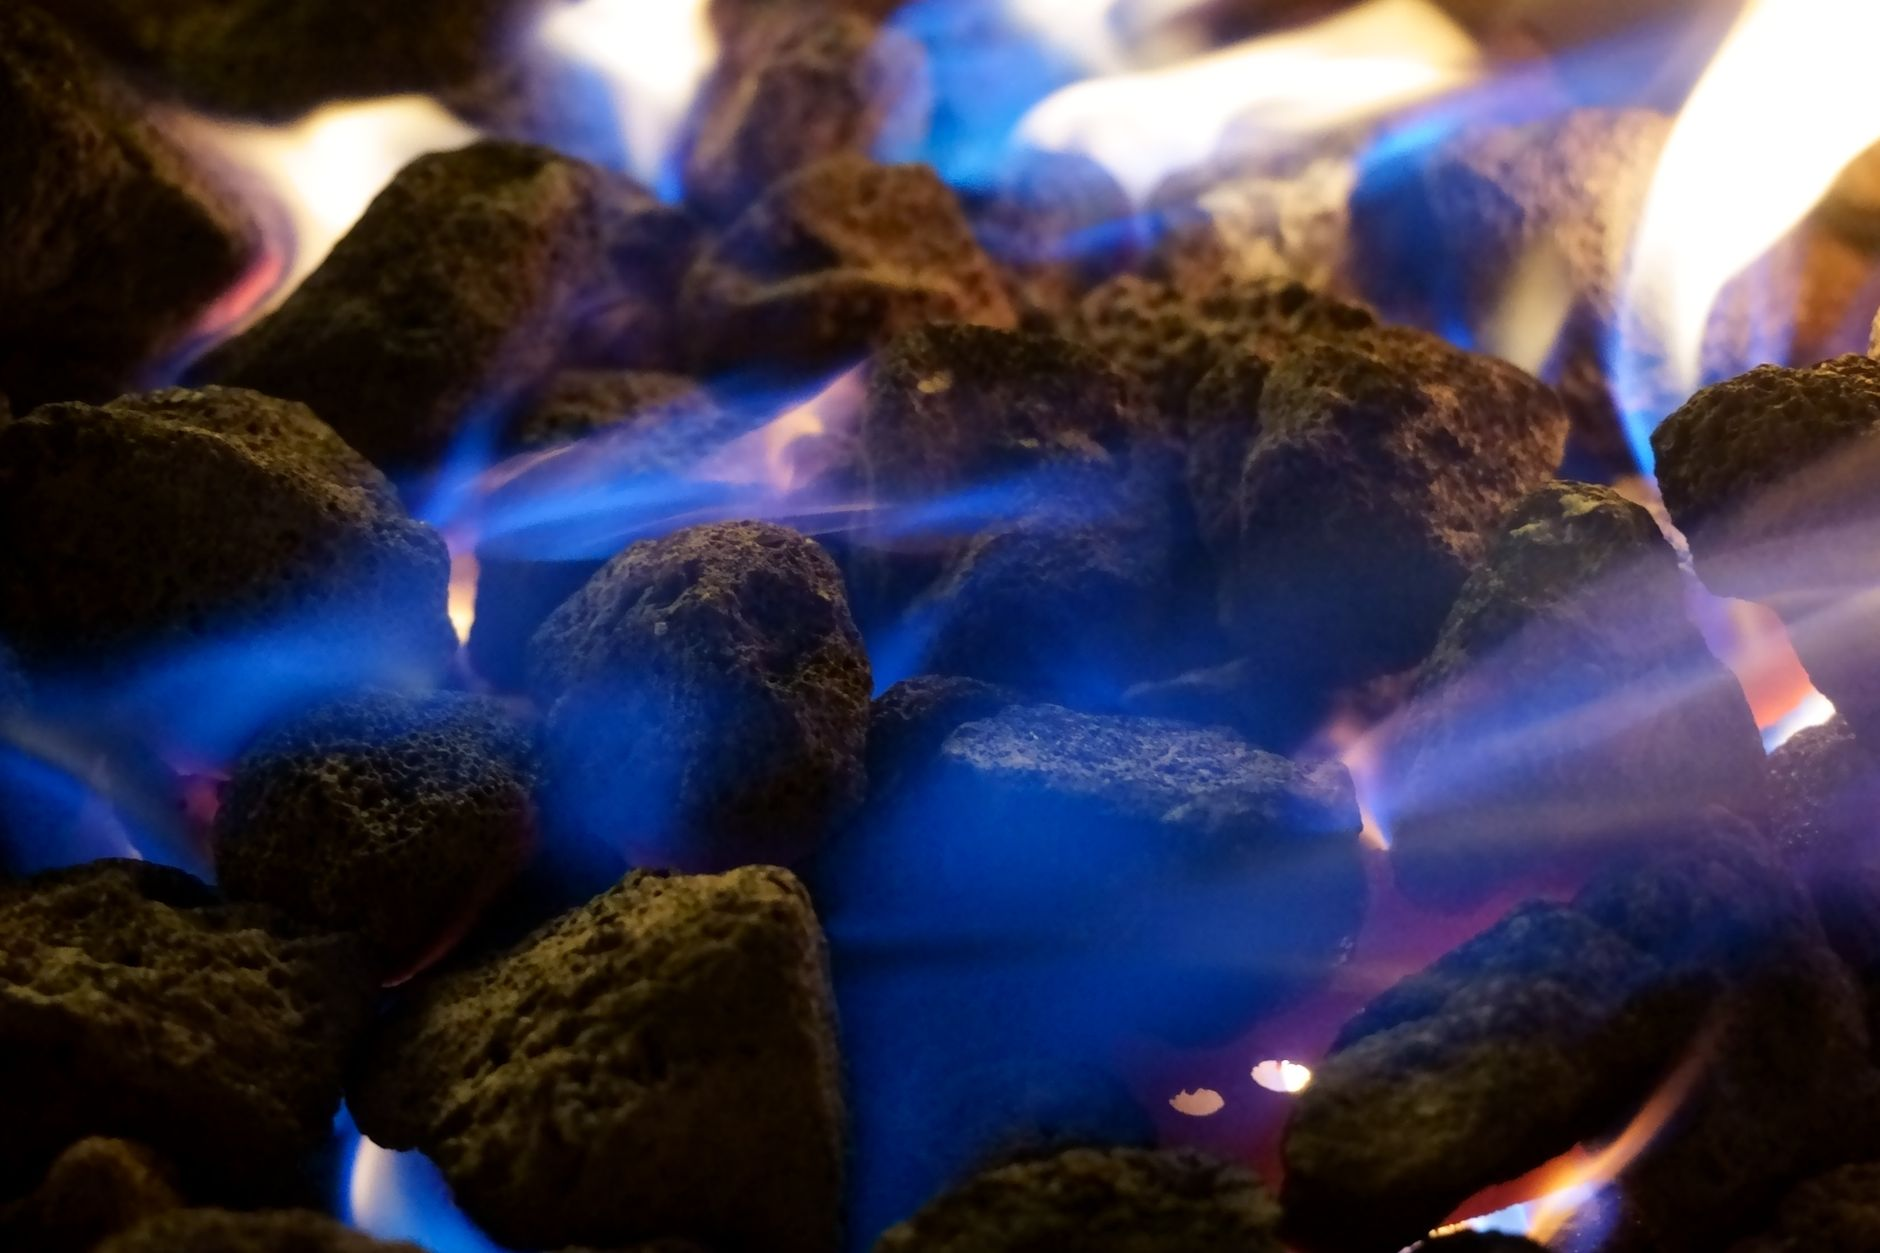
Modern gas inserts have improved considerably. Ceramic log sets and ember beds are designed to replicate the visual character of a wood fire closely. Some units also offer a flickering flame effect that is convincingly realistic. It is worth viewing a unit in person before deciding, since the visual quality varies between product lines.
Is the existing chimney still usable after conversion?
The chimney remains in use as the venting path for the gas appliance. The liner is what changes. If you ever wanted to convert back to wood burning in the future, that would require removing the liner and returning the firebox to its original configuration. That scenario is uncommon, but it is worth knowing it is not a one-way door from a structural standpoint.
Ready to Move Forward With Your Conversion?
The clearest next step is scheduling an assessment so you know exactly what your home requires. Our family-owned team has been doing this work across the Bay Area for 25 years, and we have earned the Angi Super Service Award every year from 2022 through 2025 because we take the time to explain what we find and give homeowners honest recommendations rather than upsells they do not need.
If you want to understand what is involved before booking anything, our fireplace conversion service page walks through what we offer and what you can expect from our process. We serve homeowners throughout Oakland, San Francisco, Berkeley, Santa Rosa, San Jose, and dozens of other Bay Area communities. An accurate assessment is the best first step you can take.
Photo by Budget Bizar on Pexels.