Fireplace repair myths that circulate among Bay Area homeowners often lead to delayed fixes, wasted money, and real safety risks. After 25 years of doing this work across Oakland, San Francisco, Berkeley, San Jose, and dozens of other Bay Area communities, our team at Cali Chimney has heard just about every misconception there is. Some myths sound reasonable on the surface. Others get passed along by well-meaning neighbors or outdated online forums. All of them tend to make the underlying problem worse. Here is a clear look at the most persistent ones. Fireplace Repair Myths That Are Costing Bay Area Homeowners Before we get into each myth individually, it helps to understand why these ideas spread so easily. Fireplaces are used seasonally in most Bay Area homes, which means problems can sit unnoticed for months. When something does go wrong, homeowners naturally look for the simplest explanation and the least disruptive fix. That gap between assumption and reality is exactly where these myths take hold. Myth: Cosmetic Damage Is Just Cosmetic One of the most common things we hear is some version of: “It is just a few cracks. It still works fine.” Hairline cracks in the firebox walls or the firebrick mortar joints may look minor, but they are rarely a purely aesthetic problem. The firebox is designed to contain combustion and protect the surrounding structure from heat. When the refractory mortar between firebricks deteriorates, heat and combustion gases can migrate into areas that were never meant to handle them. In older homes across Berkeley, Danville, and Mill Valley, we regularly find that what looks like surface cracking on the interior has allowed moisture and heat damage to spread into the framing behind the firebox. The right move is to have a qualified technician assess the depth and pattern of the cracking during an inspection. Small repairs done promptly are almost always simpler than the structural work that becomes necessary after years of deferred maintenance. Myth: A Fireplace That Draws Well Does Not Need Repair Good draft does not mean a healthy fireplace. The smoke going up the flue tells you the air pathway is open. It does not tell you anything about the condition of the flue liner, the firebox floor, the smoke chamber, or the damper. We inspect fireplaces in Napa, Santa Rosa, and Petaluma every season that draw beautifully and still have significant issues: spalled firebricks, a cracked flue liner, a rusted damper plate that no longer closes fully, or a deteriorated smoke chamber that is allowing creosote (a tar-like combustion byproduct that builds up in flue systems and poses a significant fire risk) to pool in unintended places. The absence of a visible problem during use is not the same as the absence of a real problem. An inspection by a trained eye is the only way to know with confidence that the system is actually sound. Myth: You Can Wait Until Something Goes Noticeably Wrong This one is understandable. Fireplaces are not cheap to repair, and if nothing seems wrong, it is tempting to leave it alone. The problem is that most fireplace components fail gradually rather than all at once, and the early signs are easy to miss without the right tools and training. A flue liner with a small crack may function for another season or two before the crack widens enough to allow dangerous gases to enter the living space. A deteriorating damper might seem to close just fine until one cold snap reveals that warm air is steadily escaping all winter. Mortar joints that have lost their integrity may not cause a visible fire issue but can allow moisture intrusion that rots the framing around the firebox over time. The homes we service in Concord, Pleasanton, and Fremont that have the most straightforward repair bills are the ones where the homeowners schedule a professional chimney inspection on a consistent basis rather than waiting for something obvious to break down. Catching a problem at Stage 1 is almost always less disruptive than addressing it at Stage 3. Myth: Any Handyman Can Handle Fireplace Repairs General handymen are skilled at a wide range of home repairs, and we have nothing against them. But fireplace and chimney work involves specific materials, codes, and failure modes that are genuinely different from standard home maintenance tasks. Refractory mortar, for instance, is not the same as standard masonry mortar, and using the wrong product in a firebox repair creates a joint that will fail quickly under thermal cycling. Flue liner repair or replacement involves understanding liner types, clearances, and local code compliance. Gas fireplace components carry their own safety requirements that go beyond what most general contractors encounter in day-to-day work. Our team has completed more than 4,700 chimney and fireplace jobs across the Bay Area. The repairs we are most often called in to redo are ones where a well-intentioned but unspecialized contractor used the wrong materials or skipped critical steps. Hiring a specialist the first time is almost always the more efficient path. If you need fireplace repair from a qualified team, look for someone who works specifically in this field, not just someone who is willing to try. Myth: A New Firebox Facing Means the Fireplace Has Been Rebuilt This one catches homeowners off guard during real estate transactions, and it is particularly common in older neighborhoods in San Francisco, Oakland, and Berkeley. A seller or listing agent might describe a fireplace as “updated” because the surround and facing have been replaced with new stone or tile. That is a cosmetic update, not a functional repair. The facing is the decorative outer frame that you see from the room. The firebox interior, the smoke shelf, the damper, the flue liner, and the chimney crown are what actually govern the safety and performance of the system. None of those components are touched in a cosmetic facing update. If you are buying a home in the Bay Area with a fireplace that has been
Approaching Fireplace Conversion the Right Way, From Start to Finish
A fireplace conversion is one of the more involved projects a homeowner can take on, and the decisions made early in the process shape everything that follows. After 25 years of completing conversions across the Bay Area, from older craftsman homes in Berkeley to newer builds in Danville and Pleasanton, our team at Cali Chimney has seen what separates a smooth project from a frustrating one. This guide walks you through fireplace conversion the right way, covering the planning stage, the inspection work, the installation itself, and what comes after. What Fireplace Conversion Actually Means The term gets used loosely, so it helps to be precise. A fireplace conversion typically means changing a wood-burning fireplace into a gas-burning one, though it can also mean converting an older decorative unit into a functioning insert, or updating a gas system from one fuel type or configuration to another. The most common request we handle is wood-to-gas: a homeowner wants to stop buying and storing wood, wants to reduce ash and smoke inside the home, or simply prefers the convenience of a gas flame. Each type of conversion has its own set of requirements. Wood-to-gas work involves running a gas line to the firebox, choosing the right gas insert or log set, and addressing the existing flue so it handles gas combustion safely. That last point matters more than most homeowners expect. A flue sized and lined for wood-burning is not automatically ready for gas appliances, and skipping that step is one of the more common mistakes we see on jobs we inherit from other contractors. Approaching Fireplace Conversion the Right Way Starts with an Inspection Before any product is ordered or any gas line work is scoped, the fireplace and chimney need a thorough inspection. This is not a formality. The inspection tells you the condition of the firebox, the flue liner, the damper, the smoke chamber, and the exterior masonry. Each of those elements affects which conversion path is practical and what additional work will be needed before the new appliance is safe to use. A professional chimney inspection should be a Level 2 inspection when a conversion is planned. Level 2 is the industry standard for any change in the appliance type or fuel being used. It includes a visual examination of accessible areas plus a camera scan of the flue interior. That scan often reveals issues that would be invisible otherwise: cracks in the liner, deteriorated mortar joints, or gaps that allow combustion gases to enter the home rather than vent safely upward. If the inspection finds problems, those need to be addressed before the conversion moves forward. Trying to shortcut this sequence almost always creates bigger issues later, and in some cases creates genuine safety risks. Choosing the Right Conversion Option for Your Fireplace Once the inspection is complete and the firebox is confirmed structurally sound, the next decision is which type of gas appliance makes the most sense. The two main options for a wood-to-gas conversion are a gas insert and a gas log set. They are not interchangeable, and the right choice depends on your fireplace’s dimensions, the condition of your flue, and how you plan to use the fireplace. Gas Inserts A gas insert is a self-contained unit that slides into the existing firebox. It comes with its own sealed combustion chamber and its own liner, which runs up through the existing flue. This is the more thorough conversion: the existing chimney essentially becomes a chase for the new liner. Gas inserts are well-suited for homeowners who want reliable heat output, high efficiency, and a clean-looking installation. They also tend to perform better in homes where the existing flue has some deterioration, because the new liner handles all the venting. Gas Log Sets A gas log set is installed inside the existing firebox without enclosing it. The logs sit on a burner connected to the gas line, and combustion gases vent through the existing flue. This option generally requires a flue that is in good condition and properly sized for gas appliances. It produces a more open, traditional flame appearance. The tradeoff is that it is less thermally efficient than an insert, and it depends more heavily on the existing chimney being in solid shape. There is no single right answer between the two. Our team walks homeowners through the pros and cons based on what the inspection found and how the fireplace will realistically be used. The Gas Line and Permitting Step Running a gas line to the firebox is not a DIY task, and it is not something a chimney company handles in isolation. In most Bay Area jurisdictions, gas line work requires a licensed plumber or gas fitter, and the project as a whole typically requires a building permit. This is true whether you are in San Francisco, San Jose, Oakland, or any of the smaller cities in Marin or Sonoma counties. Permits exist for a reason. They trigger an inspection by the local building department, which confirms the installation meets code. Skipping the permit process might seem like a way to save time, but it creates real liability when you sell the home and can complicate your homeowner’s insurance if something goes wrong. A reputable fireplace conversion contractor will tell you up front what permits are needed and help coordinate the process rather than suggest you skip it. Our role in this stage is to handle the chimney side: the flue liner, the firebox preparation, and the appliance installation. The gas line connection is coordinated with a licensed tradesperson, and we do not consider the job complete until all required inspections have passed. Flue Lining and Firebox Preparation This is the step that gets skipped most often in cut-rate conversions, and it is the step that matters most for long-term safety. When a wood-burning fireplace is converted to gas, the flue must be lined appropriately for the new appliance. Gas combustion produces different byproducts than wood combustion, and those byproducts
Gas Fireplace Service Mistakes Homeowners Keep Making
Gas fireplace service is one of those things that looks straightforward from the outside but hides a surprising number of ways to go wrong. After 25 years of working on fireplaces across Oakland, San Francisco, Berkeley, Napa, and the wider Bay Area, our team at Cali Chimney has seen the same missteps repeat themselves season after season. Some are harmless inconveniences. Others quietly create real safety risks. This post covers the most common ones and, more importantly, what to do differently. Skipping Annual Gas Fireplace Service Entirely The single most common mistake we encounter is simply not scheduling service at all. Gas fireplaces have a reputation for being low-maintenance compared to wood-burning units, and that reputation is not completely wrong. But low-maintenance does not mean no-maintenance. Every gas fireplace has components that wear, shift, and accumulate debris over time: burner ports, pilot assemblies, thermocouples, gas valves, and the venting system that carries combustion byproducts safely out of your home. When those parts are never inspected, small problems go undetected. A partially blocked vent, for example, can allow carbon monoxide to migrate back into living space. A thermocouple that is drifting out of calibration may let the pilot light go out unexpectedly, or worse, may not shut off the gas supply reliably in a fault condition. Annual service catches these issues while they are still inexpensive to address and before they become safety concerns. Our recommendation is to have your gas fireplace professionally serviced at least once a year. Many Bay Area homeowners find the end of summer or early fall the ideal window, before the first cold snap drives demand up. Our fireplace repair team handles everything from routine tune-ups to more involved component replacements. Treating Venting Problems as a Cosmetic Issue Gas fireplaces vent in a few different ways. Some are direct-vent units that draw outside air for combustion through one flue and exhaust through another. Others are natural-draft units that use an existing masonry chimney. A smaller category, vent-free fireplaces, burns inside the living space entirely. Each type has its own set of venting requirements, and each is prone to its own set of problems. What we consistently see is homeowners noticing a venting symptom and assuming it is cosmetic. Soot staining around the firebox opening, a faint gas smell after lighting, or a pilot that keeps going out are not cosmetic. They are the fireplace telling you something is wrong with how combustion gases are moving through or out of the system. Blocked or improperly sealed vent terminations are especially common in our service area. Bay Area winters bring rain, fog, and sustained moisture that can cause corrosion in direct-vent caps and encourage nesting activity in chimney flues. A chimney inspection that includes the venting system is the right way to determine whether a symptom is minor or serious. Do not wait for the symptom to get worse before calling. DIY Gas Line and Burner Work We understand the impulse. A YouTube video makes relighting a pilot or cleaning a burner look simple, and sometimes it is. But there is a meaningful line between basic homeowner tasks and work that should only be done by a licensed professional, and gas-related repairs sit firmly on the professional side of that line. Adjusting gas pressure, replacing gas valves, re-routing flexible gas connectors, or tampering with the burner assembly are jobs where getting it slightly wrong can have consequences that range from persistent ignition failure to a dangerous gas accumulation in the firebox. We have responded to service calls where well-intentioned DIY work left fittings finger-tight rather than wrench-tight, or left a gas valve in a position that bypassed the safety shutoff. What homeowners can reasonably do: keep the glass panels clean using a cleaner rated for ceramic glass, check that the area around the firebox is free of obstructions, and test the carbon monoxide detector nearest to the fireplace regularly. Everything inside the unit itself, and anything involving the gas supply, belongs with a qualified technician. Ignoring the Signs That Something Has Changed Gas fireplaces, when they are working correctly, behave in consistent ways. The flame pattern is stable. The color is predominantly blue with yellow tips on the log set. The unit lights within a few seconds. The glass stays relatively clear. When any of those baseline behaviors change, that change is meaningful information. Some of the changes we hear about most often from homeowners in Concord, Pleasanton, San Rafael, and Petaluma include: Flames that have become almost entirely yellow or orange and produce visible soot on the glass A pilot light that requires multiple attempts or holds for only a short time before going out Unusual odors when the fireplace is running, particularly anything sulfurous or metallic Clicking sounds from the igniter that do not result in the burner lighting A firebox that takes noticeably longer to reach operating temperature None of these symptoms should be met with a wait-and-see approach. Each one points to a component that needs attention. Catching them early almost always means less involved service than if the same issue is left to develop further. Choosing a Technician Without Checking Qualifications Not everyone who advertises gas fireplace service has the training to do it safely. This is a mistake we see the downstream effects of regularly: a homeowner calls us after a previous service did not resolve a problem, or after new problems appeared following a prior technician’s visit. When you are evaluating a service provider for your gas fireplace, it is reasonable to ask whether they have experience specifically with gas appliances rather than only wood-burning systems, whether they are licensed to work on gas systems in California, and whether they carry liability insurance. You should also look at verifiable third-party reviews, not just testimonials on the company’s own website. Cali Chimney is a family-owned business with 25 years of experience serving the Bay Area. We have completed more than 4,700 chimney and fireplace service jobs, and we have earned the
What Most People Get Wrong About Fireplace Rebuild
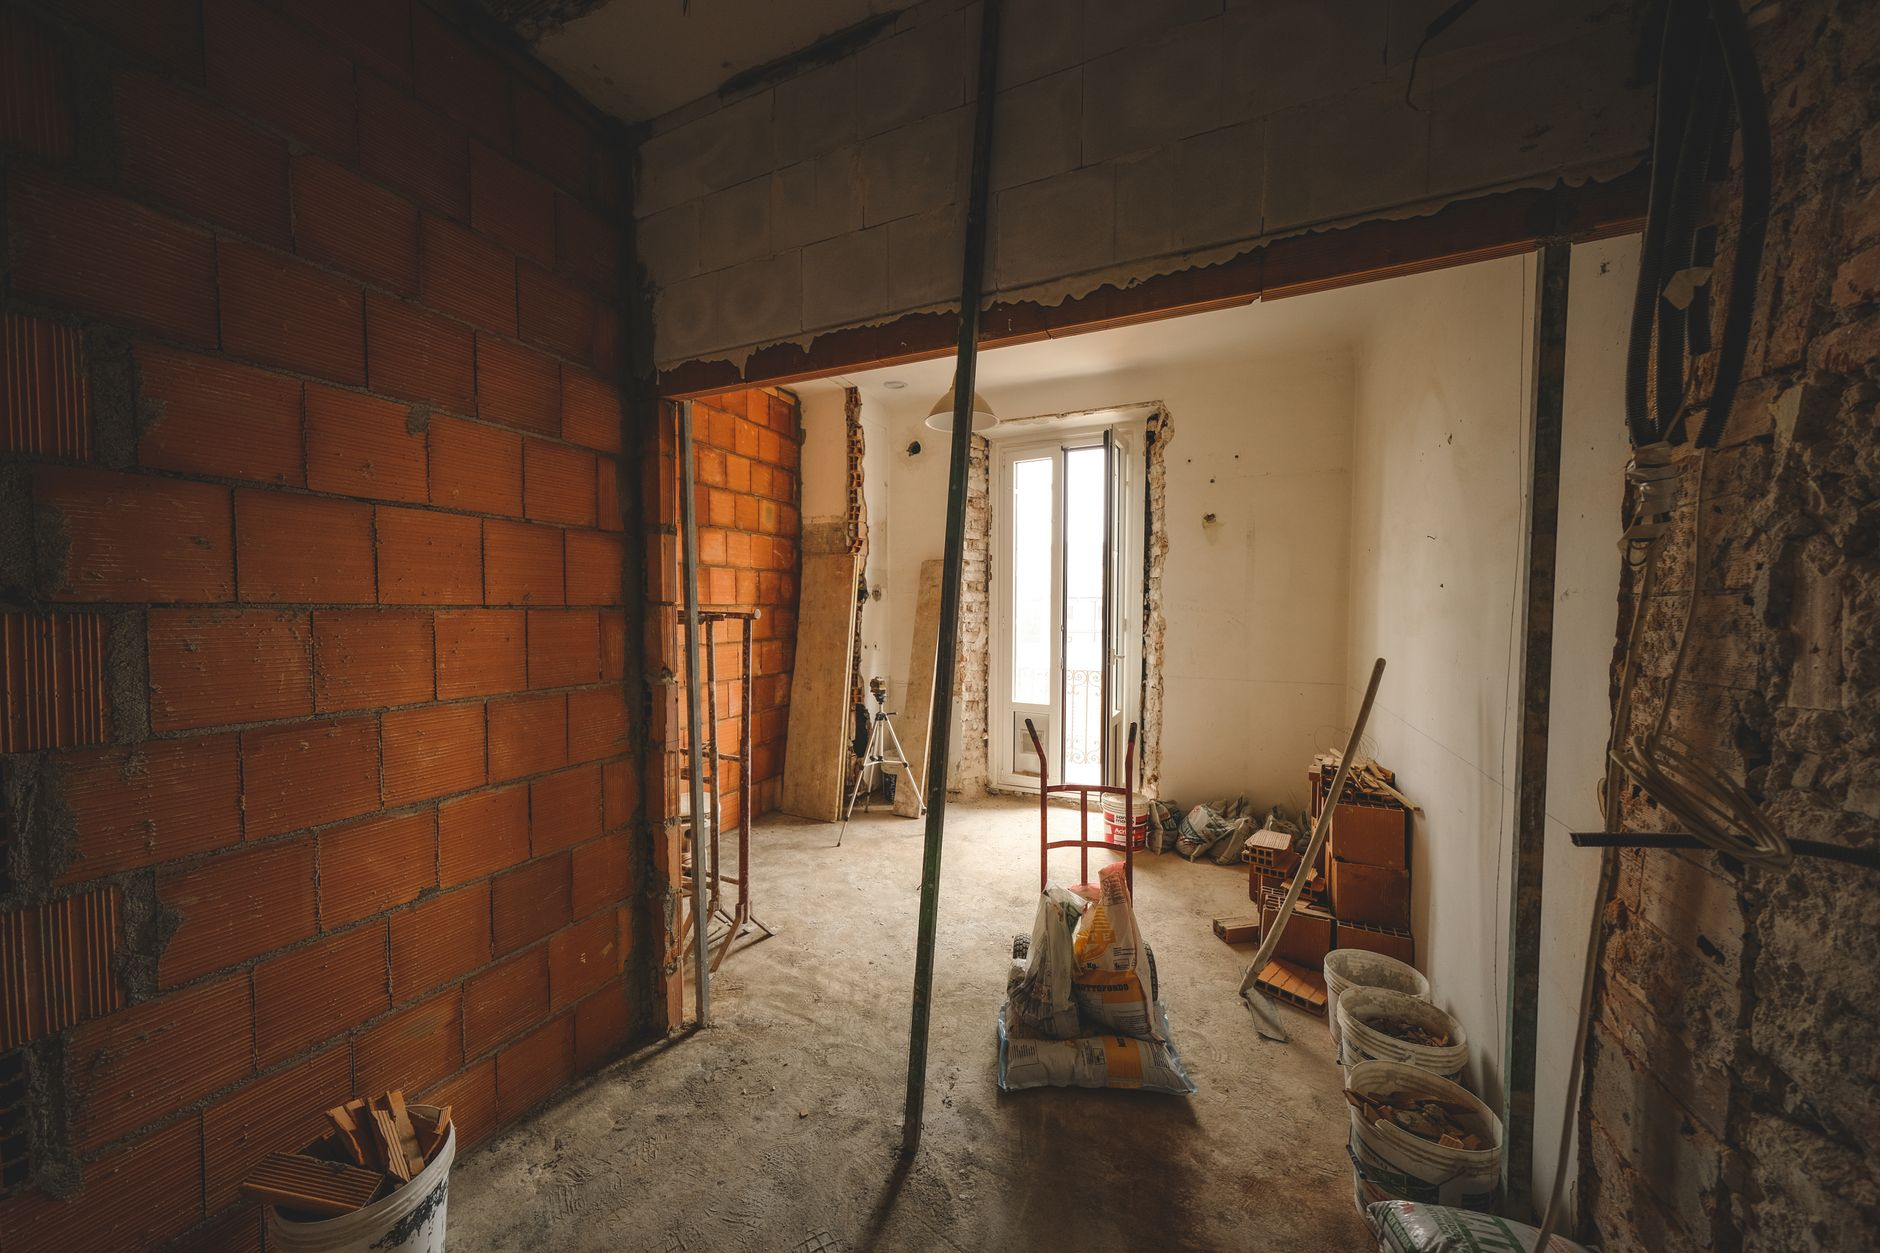
The question we hear most often when a homeowner first calls about a fireplace rebuild is some version of: “Do I really need all of that?” After 25 years of working inside Bay Area homes, from older craftsman bungalows in Berkeley to newer construction in Pleasanton, our team has seen what happens when a rebuild is done halfway. What most people get wrong about fireplace rebuild comes down to a handful of consistent misunderstandings, and clearing them up before work starts makes a real difference in how the finished fireplace performs and how long it lasts. What Most People Get Wrong About Fireplace Rebuild The biggest single misconception we encounter is that a rebuild is just cosmetic. Homeowners see crumbling brick or a scorched firebox and assume a fresh coat of refractory mortar and some new firebrick will take care of it. Sometimes that is true. But a fireplace is a system, not a surface. The firebox, smoke chamber, damper, flue liner, and chimney crown all work together to move combustion gases safely out of your home. When one component is severely damaged, others are often compromised as well, even if they look fine from across the room. A partial fix on a structurally unsound firebox is a bit like patching one wall of a leaking basement. The water will find another way in. Combustion gases will too, and carbon monoxide has no smell to warn you. Treating Smoke Damage as the Whole Story Heavy smoke staining on the firebox walls gets homeowners’ attention, and understandably so. But smoke staining is a symptom, not the diagnosis. The underlying cause might be a misaligned smoke chamber, a deteriorated smoke shelf, or a damper that no longer opens fully. A proper rebuild evaluation looks behind the staining to understand what caused it. We have walked into fireboxes in Concord and San Rafael where previous contractors had simply repainted the interior with high-heat paint, leaving a structurally failed firebox hidden underneath. The homeowner burned fires for another season before the real problem forced a far more extensive repair than if it had been addressed the first time. Before any rebuild work begins, a thorough inspection of the smoke chamber and damper assembly is essential. That inspection is not a separate upsell. It is the step that tells you what you are actually fixing. If you have not had one recently, our chimney inspection service covers exactly this kind of evaluation. Underestimating the Role of the Smoke Chamber The smoke chamber sits directly above the firebox opening, between the damper and the base of the flue. Its job is to compress rising smoke and gases into a smaller area so they enter the flue efficiently. When the smoke chamber walls are damaged or corbelled incorrectly, smoke backs up into the room. This is one of the most common drivers of smoky fireplaces we see across the Bay Area. A lot of homeowners assume a smoky fireplace is a draft problem at the top of the chimney, which leads them toward adding a cap or changing the flue height. Those changes might help marginally, but they will not solve a smoke chamber that is cracked or poorly shaped. The fix is parging: applying a smooth layer of refractory mortar to the smoke chamber walls so they are sloped correctly and airtight. Parging is almost always part of a full fireplace rebuild, and it makes a noticeable difference in how cleanly a fire draws. If your rebuild estimate did not mention smoke chamber condition, ask about it directly. Choosing Materials Based on Price Alone Firebrick is not the same as standard building brick, and refractory mortar is not the same as the mortar used on exterior walls. The materials inside a firebox have to withstand temperatures that would crack ordinary masonry within a single season of regular use. Using the wrong materials is one of the more costly mistakes we see in fireplace work done by contractors who are not specialists. There are a few key material choices that matter in a rebuild: Firebrick: Dense, high-alumina brick rated for sustained high heat. Not all firebrick sold at home improvement stores meets the same standard. Thicker brick holds and radiates heat better over time. Refractory mortar: Rated for the temperatures reached in an active firebox, not general masonry mortar. It stays bonded through repeated heating and cooling cycles. Smoke chamber parge coat: Should be a factory-mixed refractory product, not site-mixed mortar, for a consistent result. Damper: If the existing damper is warped or corroded, a throat-mount or top-mount replacement is part of the rebuild, not an optional add-on. If a quote for your rebuild is considerably lower than others, ask what materials are specified. Saving money on materials is usually where corners get cut, and the firebox will show it within a few years. Skipping the Post-Rebuild Inspection A rebuild creates new masonry joints that need to cure before the fireplace is used. Rushing this step is a common mistake. Many contractors hand the homeowner a finish date and consider the job done, but a newly rebuilt firebox should be allowed to cure fully before the first fire, and the first few fires should be small break-in burns that gradually introduce heat into the fresh refractory materials. Beyond curing, a post-rebuild inspection gives you documented confirmation that the firebox, smoke chamber, and flue are all functioning together as a system. This is particularly important if you plan to use your fireplace regularly or if an insurance claim was involved in the rebuild. We recommend scheduling a Level 2 chimney inspection after any significant rebuild work. A Level 2 inspection uses a camera to verify the flue liner condition from inside, which a visual check from the firebox opening simply cannot do. Our team has completed well over 4,700 chimney and fireplace jobs across the Bay Area, and the calls we get about redoing a rebuild that failed too soon almost always involve one of two things:
How to Clean Your Fireplace: A Step-by-Step Guide for Bay Area Homeowners
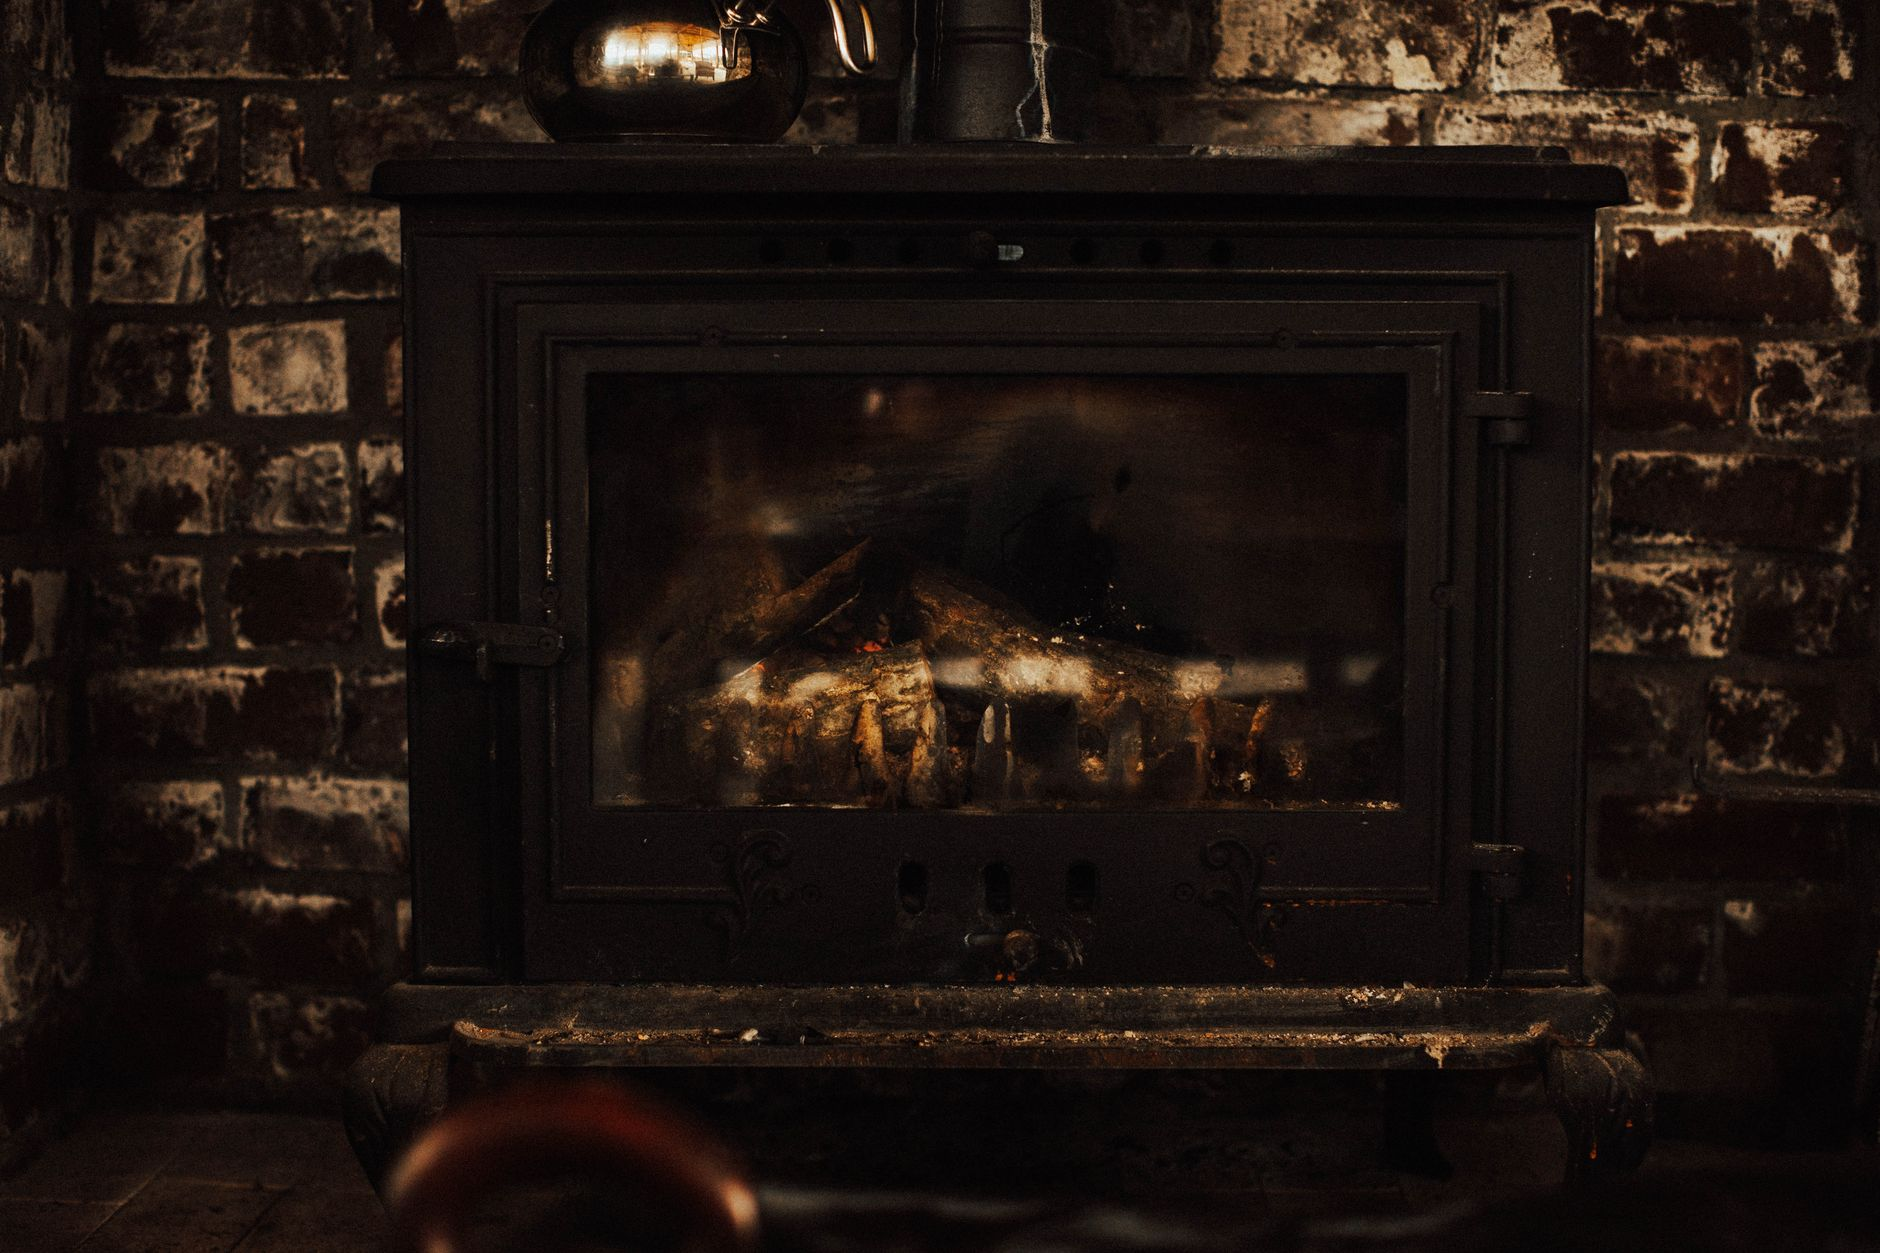
Learning how to clean your fireplace is one of the most practical things a Bay Area homeowner can do before or after burning season. After 25 years of fireplace cleaning work across Oakland, San Francisco, Napa, Santa Rosa, and dozens of other Bay Area communities, our team at Cali Chimney has seen firsthand how a clean firebox and proper maintenance habits make a real difference in both safety and performance. This guide walks you through what you can do yourself, what to watch for, and when to call in a professional. How to Clean Your Fireplace Without Making a Mess The biggest complaint homeowners have about DIY fireplace cleaning is ash and soot ending up everywhere. A little preparation goes a long way. Before you touch anything inside the firebox, give the ash at least 24 to 48 hours to cool completely after the last fire. Warm ash is deceptively dangerous, and disturbing it too early spreads fine particulate through the room. Lay a canvas drop cloth or old sheet across the hearth and several feet of flooring in front of it. Close any room vents, and if you have a ceiling fan, turn it off. You want still air, not a draft that pulls soot deeper into the room. Use a fireplace shovel to scoop ash into a metal bucket, never a plastic bag or cardboard box. Even ash that seems cold can contain a live ember. Transfer the bucket outside and let it sit on a non-combustible surface for another day before disposal. Once the bulk of the ash is out, use a small stiff-bristle brush to sweep residual ash off the firebox floor and toward the ash dump door if your fireplace has one. Cleaning the Firebox Walls and Grate The firebox is the interior chamber where fires actually burn. Over time, the rear and side walls accumulate a dark, sooty coating. Light surface soot is normal. A thick, shiny, or tar-like black layer is a different issue entirely, and we will address that separately below. For routine surface soot, a stiff wire brush and a little elbow grease are usually enough. Work from top to bottom so loosened material falls down rather than onto a surface you just cleaned. Some homeowners use a mixture of water and cream of tartar for stubborn soot stains on firebrick, applying with a scrub brush and rinsing with a damp cloth. Avoid any cleaner that contains bleach, as it can damage the mortar joints between firebrick. The grate, the metal rack that holds logs above the firebox floor, can be carried outside and scrubbed with a wire brush. Inspect it while you have it out. If the bars are warped, cracked, or rusted through, replace it before the next burning season. A deteriorated grate affects how air flows around the fire. The Damper and Smoke Shelf: Do Not Skip These Most homeowners focus entirely on the firebox and miss the two areas directly above it: the damper and the smoke shelf. The damper is the movable plate that controls airflow between the firebox and the flue, the vertical channel that carries combustion gases out of the home. Open and close it several times while wearing a headlamp and looking up into the throat of the fireplace. The damper should move smoothly and seal reasonably well when closed. A damper that is stiff, missing a handle, or refuses to fully close is wasting energy and should be repaired before the next burning season. The smoke shelf sits just behind and above the damper. Its job is to redirect downdrafts so they do not push smoke back into the room. Debris, leaves, and even small animal nests accumulate on the smoke shelf over time, especially in Bay Area homes where oak trees and eucalyptus drop material onto the roof all year. You can reach the smoke shelf with a flexible fireplace brush and sweep material down into the firebox for removal. This is one of those steps that looks minor but genuinely affects draw. Recognizing Creosote and Why It Changes Everything Creosote is the byproduct of incomplete combustion. When wood smoke cools too quickly inside the flue, it condenses on the liner walls and damper as a sticky, flammable residue. First-stage creosote looks like dry, flaky soot and brushes away easily. Second-stage creosote is tar-like and crunchy. Third-stage creosote is a hard, shiny, black glaze that bonds to the liner and is highly resistant to standard brushing. If the surfaces inside your fireplace look unusually dark, have an oily sheen, or if you can scrape a noticeable layer of residue with a fingernail, you are likely dealing with second or third-stage buildup. At that point, standard homeowner cleaning tools are not designed to handle it safely. Professional fireplace cleaning with commercial-grade rotary brushes, chemical treatments, and proper containment equipment is what the situation calls for. We see heavy creosote frequently on jobs in areas like Boulder Creek, Berkeley, and parts of Danville where homeowners burn a lot of wood through the wet winter months. Unseasoned or wet wood is the primary culprit, it produces far more creosote than properly dried hardwood burned hot. What a Professional Fireplace Cleaning Covers That You Cannot Do Yourself A thorough professional fireplace cleaning goes beyond the firebox. A trained technician will clean the full length of the flue liner, which in a standard single-story Bay Area home can easily run 15 to 20 feet from the damper to the chimney cap. That is not something a homeowner can safely access from below with a short brush. A professional cleaning also typically includes: Brushing the flue liner from the top down or bottom up with rotary or flexible rods Inspecting the liner condition for cracks, spalling, or separations Checking the chimney cap and crown for damage that could allow water intrusion Examining the smoke chamber, the area between the smoke shelf and the flue, for mortar deterioration Confirming proper damper function Containing all removed debris so
Fireplace Repair Myths Bay Area Homeowners Should Stop Believing
Fireplace repair myths can cost you real money and, more importantly, put your home at risk. After 25 years of working on fireplaces across the Bay Area, our team at Cali Chimney has heard every misconception in the book. Some come from well-meaning neighbors, some from outdated advice, and a few from homeowners who want to believe their fireplace is fine when it genuinely is not. This post lays out the most stubborn myths we encounter and what is actually true. Common Fireplace Repair Myths Bay Area Homeowners Should Stop Believing Myths about fireplace repair are rarely harmless. They delay maintenance, lead to DIY fixes that create new problems, and sometimes turn a modest repair into a full rebuild. Let us go through them one by one. Myth: If the fire lights, nothing is broken A fireplace that produces a flame is not necessarily a safe or functional fireplace. A cracked firebox, deteriorating mortar joints, a damaged smoke chamber, or a compromised flue liner can all exist without any obvious interruption to ignition. What you cannot see from your living room chair is often the most important part of the system. The firebox walls take the direct punishment of repeated heating and cooling cycles, and even hairline cracks in firebrick can widen over time, allowing heat to reach combustible framing behind the masonry. We routinely complete chimney inspections in Oakland, Berkeley, and San Francisco where the homeowner has been happily burning fires for years without realizing the firebox or flue has been quietly deteriorating. A working fire is a start, but it is not a clean bill of health. Myth: Small cracks in the firebox are cosmetic This is one of the most common things we hear. A homeowner notices a crack in the back wall of the firebox, decides it looks minor, and moves on. In many cases, what looks cosmetic is actually structural. Mortar joints in a firebox are made of refractory mortar, a material designed to withstand extreme temperatures. When that mortar fails, the joints open up and heat can transfer to areas where it should never reach. Over time, ordinary brick mortar, which is not refractory-rated, may have been used in a prior repair, and that substitution accelerates the problem. The standard for determining whether cracks are truly cosmetic or genuinely hazardous comes from a professional evaluation, not a visual check from a distance. Our team uses National Fire Protection Association guidelines during every inspection to categorize what we find and explain the risk level in plain language. Myth: You only need repairs when something visibly breaks Fireplace components do not always fail dramatically. A damper can warp gradually over years of use until it no longer seals properly. A smoke shelf can accumulate debris that is never seen from below. A flue liner, especially in older homes in Napa, San Rafael, and Concord, can develop gaps or spalling that only shows up under a camera inspection. Waiting for an obvious sign means waiting until the problem has already progressed well past the point where a simple repair would have been enough. Annual inspections exist precisely because the failure modes in fireplace systems are usually slow and hidden. The cost and complexity of repairs scales with how long a problem has been left alone, so the argument for waiting is almost always the more expensive choice in the long run. Why DIY Fireplace Repairs Usually Make Things Worse Home improvement culture has made many homeowners confident about tackling repairs themselves, and for many projects that confidence is reasonable. Fireplace repair is a category where it tends to backfire. Myth: Hardware store mortar is fine for firebox repairs Standard premixed mortar from a hardware store is not appropriate for firebox work. Refractory mortar, sometimes called furnace cement or high-temperature mortar, is the correct material because it is rated to handle the direct heat a firebox produces. Using standard mortar in a firebox repair means the repair will fail, often quickly, and may introduce a new crack pattern worse than the original. We see this on a regular basis when homeowners call us to fix a repair they or a general handyman attempted. Sourcing the correct material is only part of the challenge. Applying refractory mortar correctly, in the right thickness, with proper joint preparation and curing, requires hands-on experience with the material. Done wrong, it does not bond, and the repair becomes a liability rather than a solution. Myth: Replacing a broken tile in the hearth fixes the firebox Hearth tile replacement is cosmetic work. The firebox itself, meaning the walls, the floor of the firebox, and the smoke chamber above it, is a structural and thermal system that operates under conditions a cosmetic tile repair does not touch. Replacing a cracked hearth tile when the firebox walls have failing mortar joints is the equivalent of painting over water damage without fixing the leak. It looks better temporarily but the actual problem continues. If you are considering any fireplace repair work, the right starting point is an assessment of the entire system, not a piece-by-piece cosmetic fix. Myths About When Repairs Are Needed in the Bay Area Bay Area homeowners face some specific conditions that make these misconceptions more consequential than they would be in other climates. Myth: Bay Area winters are mild so fireplace wear is minimal This one catches a lot of homeowners off guard. The Bay Area does not experience the prolonged cold that the Pacific Northwest or mountain regions do, but the coastal fog, marine moisture, and temperature swings between seasons create their own set of problems for masonry fireplaces. Moisture is the primary enemy of chimney and fireplace masonry. It infiltrates hairline cracks, freezes in overnight cold snaps, and gradually widens those cracks through expansion and contraction. In cities like Petaluma, Half Moon Bay, and Mill Valley, where fog and marine air are consistent features, we see accelerated deterioration in exterior masonry compared to drier inland areas. The mild reputation of
How Fireplace Conversion Works: A Step-by-Step Walkthrough
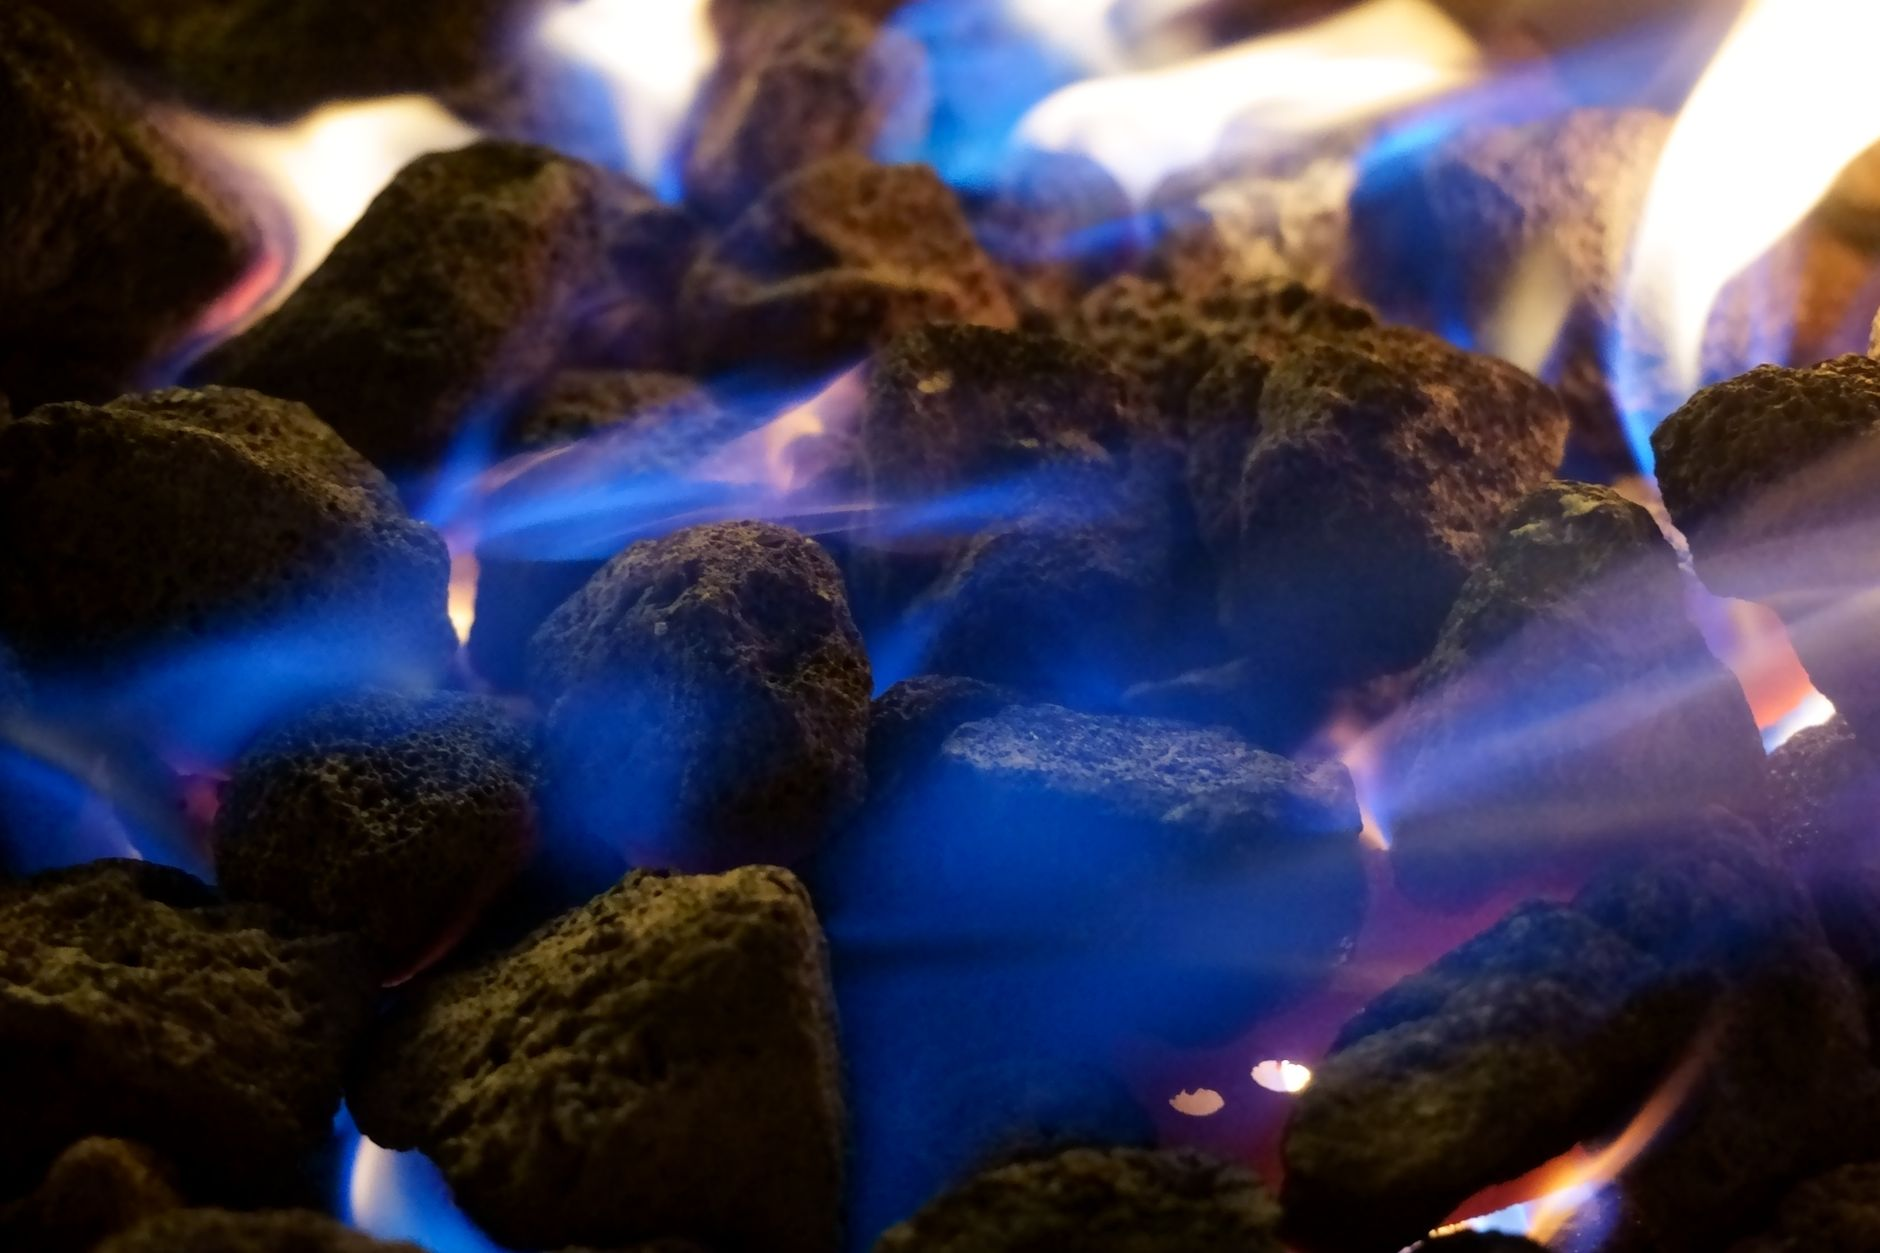
If you have been thinking about converting your wood-burning fireplace to gas, you are probably wondering what the actual process looks like. Fireplace conversion is one of the most common projects our team handles across the Bay Area, and homeowners are often surprised by how structured and manageable the work is when done correctly. This walkthrough covers every meaningful stage so you can go into the project with clear expectations. What Fireplace Conversion Actually Involves A fireplace conversion replaces your wood-burning setup with a gas insert or gas log system that uses your existing firebox and, in most cases, your existing flue. The goal is to give you reliable, controllable heat and ambiance without the labor of stacking wood, managing a fire, or cleaning out ash after every burn. There are two main paths most homeowners take: Gas insert: A self-contained unit that slides into your existing firebox, seals against the opening, and vents through a stainless steel liner running up your chimney. Gas log set: Ceramic logs placed on a burner inside the firebox, typically used in decorative applications with a less demanding heat output requirement. The right choice depends on how you use the fireplace, your home’s layout, and what the existing structure can support. That is exactly why a professional assessment comes first. Step 1: The Initial Assessment Before anything is ordered or installed, a technician needs to evaluate your current fireplace and chimney. This step is not optional, and any reputable contractor will insist on it. Here is what that assessment covers: The dimensions of the firebox opening and depth, to confirm which insert models will fit The condition of the flue liner, since a gas insert requires a properly sized and intact liner The location of your gas supply line and whether it reaches the firebox area Existing damper condition, since gas appliances typically need a damper that stays open or is converted to a fixed position Local permit requirements specific to your city or county Our team has completed thousands of these assessments across Oakland, San Francisco, San Rafael, Santa Rosa, and the wider Bay Area. In older homes especially, we sometimes find that the firebox needs minor repair before a new appliance can be seated correctly. Catching that in the assessment saves significant time later. Step 2: Permits and Gas Line Preparation In California, connecting a gas appliance almost always requires a permit, and the gas line work must be done by a licensed plumber or contractor authorized for gas work. Some installers coordinate this directly; others expect the homeowner to arrange it separately. Make sure you clarify this before signing any contract. If a gas line does not already run to the fireplace area, a plumber will need to extend one from your main supply. This involves running a properly sized pipe, installing a shutoff valve at the appliance location, and pressure-testing the line before the fireplace technician connects the appliance. The permit process also typically requires a city or county inspection of the gas line before the firebox is closed up. Skipping permits is never worth it. Unpermitted gas work creates real safety risks and can complicate home sales, insurance claims, and future repairs. Step 3: Flue Liner Installation This is the stage that surprises many homeowners. Gas appliances burn cleaner than wood, but they still produce combustion byproducts that need to exhaust safely. A gas insert requires a flexible stainless steel liner to be installed inside your existing masonry flue. Here is why that matters: Your old wood-burning flue is almost certainly too large for a gas appliance. Gas appliances are rated for specific venting sizes, and an oversized flue causes the exhaust to cool too quickly, which leads to condensation and eventually liner damage. The flex liner, which is sized precisely to the appliance output, solves that problem by creating the right draft at the right temperature. The liner is lowered from the top of the chimney and connected to the insert at the firebox end. A new cap is fitted at the top to protect the liner termination. This is also a good moment to address any existing chimney cap issues, since the old cap will be replaced as part of the liner installation anyway. You can read more about how we handle that part of the work on our chimney cap installation page. How Fireplace Conversion Proceeds on Installation Day Once permits are in place, the gas line is ready, and the liner is down, the insert installation itself is a well-organized sequence that typically takes a skilled team a few hours. Here is the general order of operations: Prepare the firebox: The technician cleans out any debris and checks that the liner connection point is correctly positioned at the base of the flue. Fit the surround and facing: The decorative surround that covers the gap between the insert and your existing fireplace opening is dry-fit before the unit goes in, to confirm measurements. Slide the insert into position: Gas inserts are heavy, and positioning matters precisely. The unit needs to align with both the gas connection and the liner collar. Connect the gas supply: The flexible gas connector is attached to the appliance and to the shutoff valve. This connection is checked immediately with a leak-detection solution. Connect and seal the liner: The liner collar at the top of the insert is sealed to prevent any exhaust from entering the room. Test the appliance: The technician fires the unit, checks the flame pattern, confirms the pilot system is operating correctly, and verifies that exhaust is drafting properly up the liner. Install the facing: Once everything passes the operational check, the decorative surround goes on and is secured. Before the team leaves, you should receive a walkthrough of the controls, the pilot lighting procedure, and what normal operation looks like. If you are getting a remote control or wall thermostat, those will be paired and tested before the job is considered done. What to Expect After
A Year-Round Wood-Burning Fireplace Service Schedule Bay Area Homeowners Can Follow
If you own a wood-burning fireplace and want it to perform safely every season, the question we hear most often is a straightforward one: how often does each part of the system actually need attention? After 25 years of wood-burning fireplace service across the Bay Area, from older Craftsman bungalows in Berkeley to hillside homes in Mill Valley, our answer is the same every time. Maintenance is not a single annual event but a rhythm spread across the calendar, with each task timed to do the most good. Why Wood-Burning Fireplace Service Follows a Seasonal Logic Wood-burning systems accumulate stress in two distinct phases: the burning season and the off season. During the burning season, every fire deposits creosote inside the flue. Creosote is a tar-like byproduct of combustion that condenses onto the flue liner as smoke cools on its way out. In its early, flaky form it is manageable. Left to build up over multiple seasons without sweeping, it hardens into a glazed coating that is both difficult to remove and a genuine fire hazard. The off season brings its own challenges. Moisture, birds, and small animals find their way into uncapped or damaged flues. Bay Area winters are wet enough that a chimney exposed to repeated rain cycles can suffer accelerated deterioration in the mortar joints, the crown, and the flue liner itself. Knowing which threats belong to which season helps you schedule the right service at the right time, rather than treating everything as one vague annual chore. The Pre-Season Check: Your Most Important Appointment Schedule a professional inspection and sweeping before the first fire of the fall. For most Bay Area households, that means late September through October, ahead of the cool evenings that make a fire feel necessary. This appointment does three things at once. Creosote removal. Any buildup from last season is cleared before it gets a chance to ignite during a hot fire this season. A professional chimney cleaning uses rotary brushes and specialized vacuums to remove deposits without pushing debris into the room. Structural inspection. The flue liner, damper, firebox, smoke chamber, crown, and cap are all examined. Our team looks for cracks, spalling brick, a damper that no longer seals properly, and any sign that the crown has begun to deteriorate. A thorough chimney inspection catches small problems before they become large ones. Cap and crown check. If the cap is missing, damaged, or sized incorrectly, that gets flagged immediately. A cap keeps rain, debris, and animals out of the flue all year. Many homes we visit in Concord, Fremont, and Fairfield have caps that were never replaced after a previous storm or repair, and owners do not know until we look. Skipping this pre-season step is the single most common mistake we see. Homeowners assume that because their fireplace worked last year, it is fine this year. Creosote does not announce itself, and hairline cracks in a flue liner are invisible without a proper look. Mid-Season Monitoring: What You Can Do Between Visits A professional cannot be in your home every time you light a fire, so part of a sound maintenance rhythm is knowing what to watch for yourself. None of this replaces professional service, but it lets you catch warning signs early. Watch the smoke behavior Smoke that spills into the room instead of drawing up the flue is telling you something. The cause might be a closed or sticky damper, a cold flue that needs a warm-up, or a blockage. If it happens consistently after the flue should be warm, schedule a service call rather than assuming it will resolve on its own. Check what you are burning Seasoned hardwood, dried to a moisture content low enough that it burns cleanly, produces far less creosote than wet or green wood. Oak, madrone, and other dense Bay Area favorites are excellent choices when properly dried. Burning cardboard, treated wood, or garbage accelerates creosote formation and can introduce toxic compounds into your flue. This is one of the simplest things an owner controls directly. Notice any new odors A strong, acrid smell when the fireplace is not in use often points to creosote buildup interacting with warm air moving down the flue, or to an animal or moisture intrusion. Odors during a fire are somewhat normal, but a sudden change in smell quality warrants attention. Look at the firebox after each use You do not need specialized tools for this. Once the ash has cooled, glance at the firebox walls and the damper throat. Excessive soot on the front face of the firebox, or visible dripping on the firebox walls, suggests combustion is not as clean as it should be. The Post-Season Sweep: Worth Doing Before Warm Weather Arrives Many homeowners skip this step entirely, and we understand why. The burning season is over, so the fireplace feels like a low priority. The problem is that creosote and ash sitting inside a flue all summer trap moisture against the liner. Over months of warming and cooling in the Bay Area’s mild but damp shoulder seasons, that moisture accelerates corrosion in metal components and softens mortar joints in masonry systems. A post-season sweep, typically in March or April for most Bay Area households, clears the flue before summer fog and humidity set in. It also gives our team a chance to address any chimney repairs identified during the season while the weather is dry and the work is easier to schedule. Mortar repairs, crown recoating, and cap replacements all go more smoothly in dry conditions. If your household burns frequently, meaning more than two or three fires per week during the season, a mid-season sweep may also be warranted. Heavy use accelerates creosote formation, and the standard one-sweep-per-year guideline assumes moderate use. Our team can give you an honest assessment of your specific situation after looking at the flue. Annual Inspection Intervals and When to Go More Frequent Industry guidance recommends a Level 1 inspection at minimum once a
Red Flags to Watch for When Hiring a Gas Fireplace Service Provider
Shopping for gas fireplace service in the Bay Area can feel straightforward until you start getting quotes and realize how much the experience varies from one company to the next. After 25 years of working on gas fireplaces across Oakland, San Francisco, San Jose, Santa Rosa, and the rest of the region, our team at Cali Chimney has heard plenty of stories from homeowners who hired the wrong provider first. The red flags are often there from the start. Knowing what to look for can save you from a botched repair, a voided warranty, or a genuine safety hazard. Why Gas Fireplace Service Requires Specialized Expertise A gas fireplace is not just a decorative feature. It contains a burner assembly, a gas valve, a pilot or electronic ignition system, thermocouples or thermopiles, and a venting system that must all work in careful coordination. A technician who is comfortable cleaning wood-burning fireplaces may have very little experience diagnosing a failing gas valve or inspecting a direct-vent flue for proper draft. The two systems share a name but not much else under the hood. This is worth stating plainly because some companies advertise broad fireplace services but rely on generalist workers for gas appliance calls. When you are vetting a provider, ask specifically how many gas fireplace jobs they complete in a given year and whether the technician who shows up has hands-on training with gas appliances. A vague answer is itself a red flag. Red Flags to Watch for in Gas Fireplace Service Quotes and Communication The hiring process starts before anyone sets foot in your home. Pay attention to how a company handles your first inquiry. Unusually low quotes with no inspection first. A responsible gas fireplace technician will want to see the appliance before committing to a price on repairs. A quote that arrives within minutes of a phone call, with no questions asked about the make, model, or symptoms, should raise your suspicion. Pressure to book immediately. Legitimate service companies have schedules. Anyone pushing you to commit before you have time to compare providers or think through the decision is not working in your interest. No written estimate. Any work on a gas appliance should come with a written scope of work before anyone touches the unit. If a company resists putting the details in writing, that is a meaningful warning sign. Reluctance to explain what the service includes. A thorough gas fireplace service typically covers inspection of the burner assembly, pilot system, ignition, gas connections, venting, and the firebox interior. A provider who cannot or will not explain what they actually do during a service call is not someone you want working on a gas appliance in your home. Credentials and Licensing: What to Ask Before You Book California requires contractors performing certain gas appliance work to carry appropriate licensing. Beyond state licensing, look for technicians who have completed manufacturer training or industry certification programs relevant to gas fireplace systems. These credentials exist because gas appliance service carries real safety stakes. Ask directly whether the company carries general liability insurance and workers’ compensation coverage. A company that hesitates on this question or cannot produce documentation is one whose job you would be taking on personal risk to hire. In our experience, reputable providers have no trouble answering these questions because they have nothing to hide. References and verified reviews also matter. Our team has been recognized with the Angi Super Service Award from 2022 through 2025, which reflects years of consistent feedback from real customers across the Bay Area. Awards like that do not accumulate by accident. When you are evaluating a service provider, look for a documented pattern of satisfied customers rather than a handful of recent reviews with no history behind them. Watch for These On-the-Job Warning Signs Even if the initial communication seems professional, pay attention once a technician is in your home. Some of the most telling red flags only appear during the service visit itself. Skipping the visual inspection of the venting system. The vent or flue on a gas fireplace must be checked for blockages, corrosion, or improper termination. A technician who goes straight to the burner without evaluating the full system is cutting corners that could matter later. No gas leak check after completing work. Any time a gas connection is disturbed, the technician should use a leak detection instrument or approved solution to confirm no gas is escaping before the fireplace is returned to service. If this step is skipped, ask about it directly. Rushing through the appointment. Gas fireplace service done properly takes time. A thorough inspection and cleaning of the burner, pilot, thermocouple, logs or media, and venting system should not be completed in fifteen minutes. If the technician is in and out before you have had a chance to ask a single question, the work was not done thoroughly. Unable to explain findings in plain language. A good technician should be able to tell you what they found, what it means, and what they did about it. If the explanation is vague or dismissive of your questions, that reflects on both their knowledge and their communication standards. Parts and Repairs: Common Upsell Tactics to Recognize One pattern we see reported fairly often is the unnecessary parts upsell. A technician arrives, finds a minor issue, and quickly escalates to recommending a full component replacement when a cleaning or adjustment would have resolved the problem. This is not unique to the fireplace industry, but it happens. Protect yourself by asking whether a repair or adjustment has been attempted before a replacement is recommended. Ask what the part does, what the symptom of its failure is, and whether the symptom you are experiencing matches a confirmed failure or just a possibility. A technician who gives you a straight answer to each of those questions is operating honestly. One who responds with urgency and vague language about safety risks without specifics deserves more scrutiny. That said, do not let
Fireplace Conversion Myths Bay Area Homeowners Should Stop Believing
Fireplace conversion is one of the most misunderstood services we offer at Cali Chimney, and after 25 years of working with homeowners across the Bay Area, we have heard just about every misconception there is. Some of these myths lead people to delay a conversion they would genuinely love. Others cause people to rush into the wrong kind of system. This post cuts through the noise so you can make a clear-headed decision about whether converting your fireplace makes sense for your home and your life. What Fireplace Conversion Actually Involves A fireplace conversion means changing your existing fireplace from one fuel type or format to another. The most common scenario we see in the Bay Area is converting a wood-burning fireplace to a gas insert or a direct-vent gas system. Less frequently, homeowners convert gas fireplaces to electric units, or they open up a sealed decorative fireplace and make it functional again. The process involves more than swapping out a burner. Depending on the conversion type, our team evaluates your existing firebox dimensions, flue liner condition, gas line access, and venting options before any work begins. A proper conversion accounts for all of these factors so the finished system operates safely and efficiently. That groundwork matters because a fireplace is a permanent fixture in your home. Cutting corners during a conversion can create ventilation problems, carbon monoxide risks, or a system that simply does not perform the way you expected. Getting it done right the first time saves a lot of headache later. The Biggest Myths About Fireplace Conversion Myth 1: Converting Means Losing the Look of a Real Fire This is the objection we hear most often, and it reflects how far gas fireplace technology has come. Modern gas inserts and gas log sets produce a flame that looks genuinely realistic. Glowing ember beds, ceramic fiber logs shaped like real wood, and adjustable flame height all contribute to an aesthetic that most homeowners find indistinguishable from a wood fire at a casual glance. Are they identical? No. But the tradeoff is significant: no smoke in the house, no hauling and storing firewood, instant on and off with a remote or wall switch, and consistent heat output. Many of our clients in San Francisco and Berkeley tell us they actually use their fireplace far more often after converting because of how convenient it is. Myth 2: You Can Skip the Chimney Inspection Before Converting Some homeowners assume that because they are moving away from wood burning, the chimney is no longer a concern. That is not accurate. A professional chimney inspection before any conversion is essential for several reasons. First, the flue liner condition determines which venting approach is appropriate for your new system. Certain gas inserts can use a flexible liner inserted into your existing flue. Others require direct venting through an exterior wall. If the existing flue is cracked or deteriorated, that affects your options significantly. Second, the firebox itself may have damage that was masked by regular wood burning. Converting without addressing that first means you are building a new system on a compromised foundation. We have seen situations in Oakland and Concord where a homeowner purchased a gas insert before anyone looked at the firebox, only to discover cracks that needed repair before installation could proceed. Myth 3: Any Contractor Can Handle a Fireplace Conversion A general contractor can install a lot of things in your home. A fireplace conversion that involves gas lines, venting modifications, and a combustion appliance is a different matter. In California, gas line work requires a licensed plumber or contractor with the appropriate credential. Venting for gas appliances follows specific codes that vary by appliance type and installation context. Working with a team that specializes in fireplace and chimney systems means those details are handled correctly from the start, not discovered as a problem during a future inspection or home sale. Our team at Cali Chimney has completed thousands of fireplace and chimney jobs across the Bay Area, and we know what local inspectors look for because we have been doing this work here for 25 years. Myth 4: A Gas Fireplace Requires No Maintenance Once homeowners convert to gas, some assume the fireplace becomes maintenance-free. It is lower maintenance than wood burning, but it is not zero maintenance. Gas fireplaces need periodic cleaning to remove dust and debris from the burner, inspection of the pilot assembly and ignition system, and a check of the venting pathway to confirm nothing is blocked or corroded. For direct-vent systems, the sealed glass panel should be cleaned and inspected for integrity. For inserts that use the existing flue, that flue still needs to be inspected periodically. A routine fireplace cleaning by a qualified technician addresses all of this and catches small issues before they become larger ones. The Bay Area’s coastal air, especially in places like Half Moon Bay, Mill Valley, and San Bruno, accelerates corrosion on metal components. Staying on top of annual service keeps your converted system running reliably for years. Myth 5: Conversion Is Only Worth It If You Use the Fireplace Every Day The value of a converted fireplace is not purely about daily use. Several of our clients converted because they wanted a safer, cleaner option for occasional use on cold evenings. Others converted because their wood-burning fireplace was underused precisely because of the effort involved, and they wanted something they would actually light up on a rainy Saturday in Napa or Danville. A gas fireplace also offers supplemental heat that can take pressure off your central heating system during the cooler months. That is worth something even if you are not running it every day. What to Consider Before You Commit to a Fireplace Conversion There are a few practical questions worth thinking through before scheduling a conversion consultation. Gas line proximity: Does your home already have a gas line near the fireplace, or would one need to be run? This affects the scope of work